
Ground Venison Jerky Recipe: Season, Shape, Heat and Dry
We may earn commission for items you purchase. As an Amazon Associate we earn from qualifying purchases.
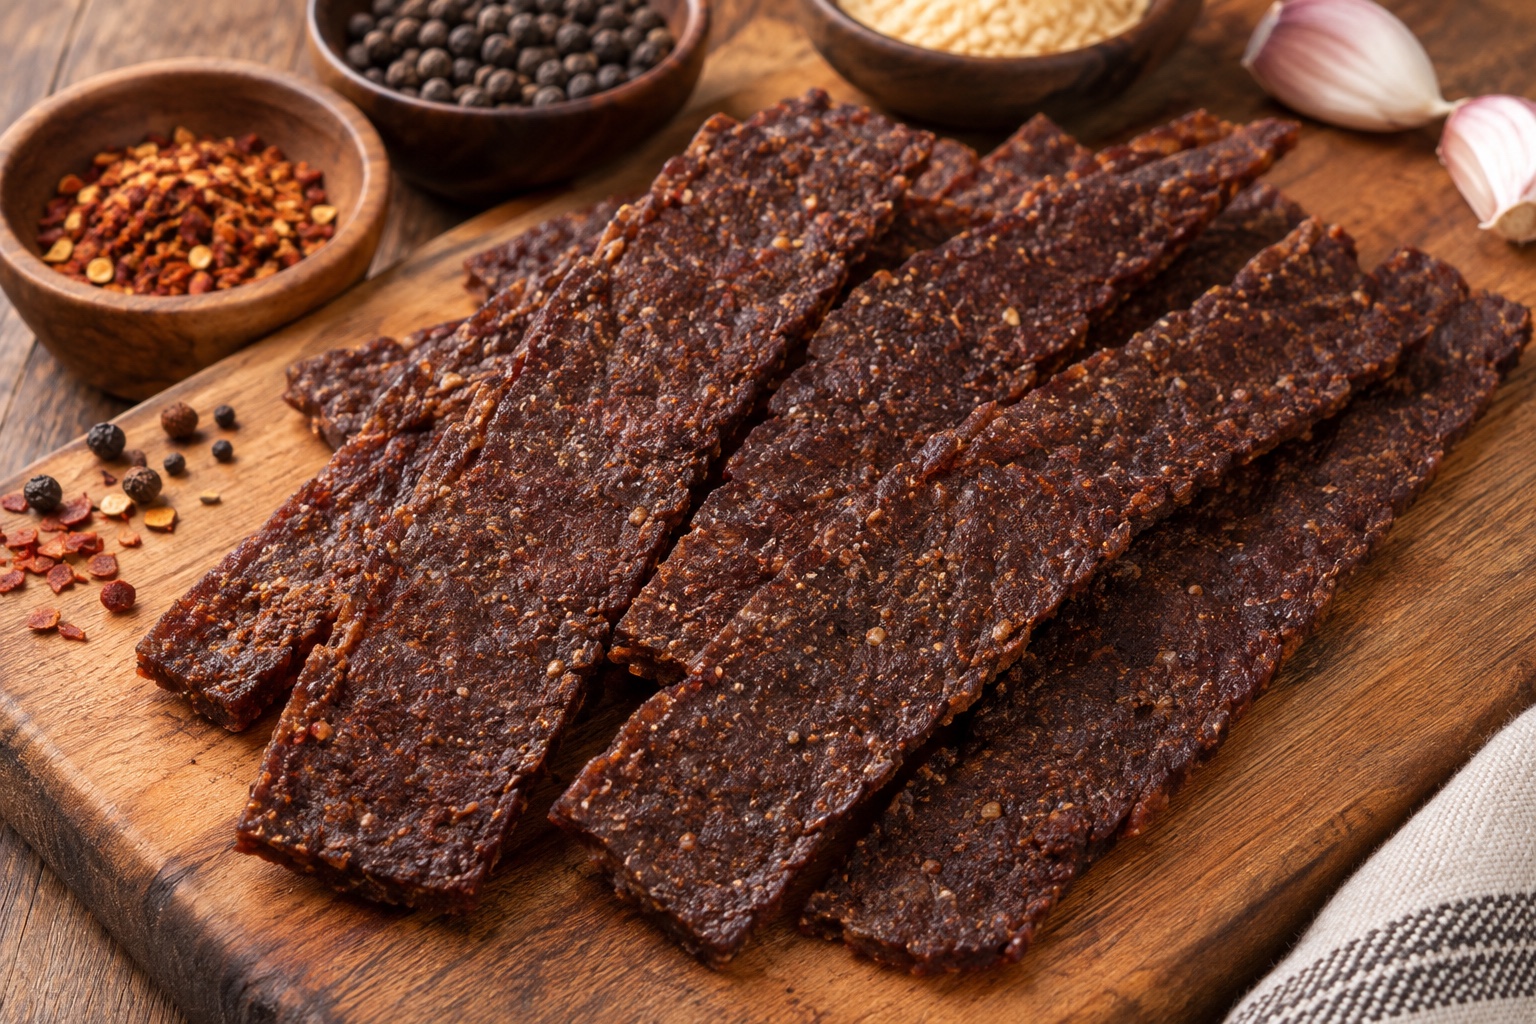
This ground venison jerky recipe uses two pounds of deer meat with soy sauce, Worcestershire sauce, brown sugar and smoked paprika. A food-grade jerky gun or rolling pin forms the seasoned mixture into flat strips, so there is no need to slice a roast.
The essential change to the original method is a measured heating step before dehydration. Setting a dryer to 160°F is not the same as measuring 160°F inside the meat. Keep the finished batch refrigerated or frozen; this particular recipe has not been validated for room-temperature storage.
The original ten ingredient quantities remain below. This update follows published food-safety guidance, but is not presented as a documented kitchen test or a validated shelf-stable product.
The original ground venison recipe
Savory ground venison jerky
Author: John Ward. Prep: 30 minutes. Batch: 2 pounds ground venison; original yield is eight servings. Refrigerated resting, heating, drying and cooling take additional time.
Ground venison jerky with soy sauce, Worcestershire sauce, brown sugar and smoked paprika, formed into flat strips and heated before dehydration.
Ingredients
- 2 lbs ground venison
- 1/2 cup soy sauce
- 1/4 cup Worcestershire sauce
- 2 tablespoons brown sugar
- 1 tablespoon apple cider vinegar
- 1 teaspoon smoked paprika
- 1 teaspoon garlic powder
- 1/2 teaspoon onion powder
- 1/2 teaspoon ground black pepper
- 1/4 teaspoon cayenne pepper (optional)
Method
- Mix cold: Use lean ground venison that has been handled safely and kept refrigerated. In a clean bowl, thoroughly mix the ground venison with all the other ingredients in the listed quantities. Do not taste the raw mixture. No curing salt is included in this formula.
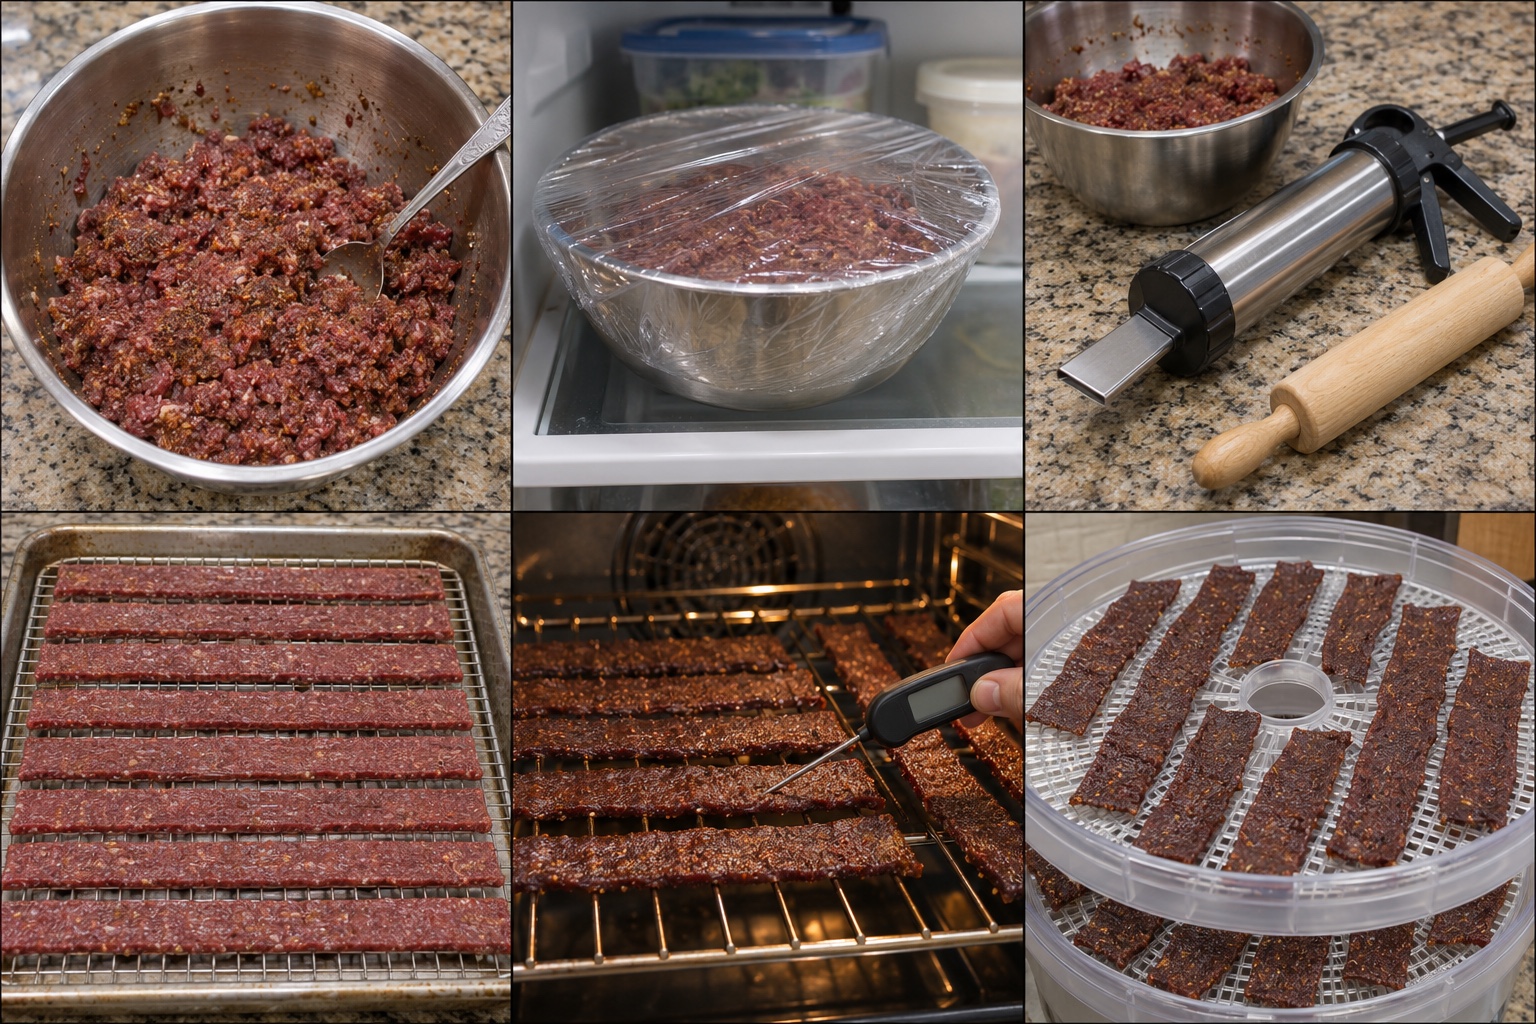
Mix the cold ground venison and seasonings. - Refrigerate: Cover the seasoned meat and refrigerate at 40°F or below for at least 2 hours or overnight. Keep preparation time outside refrigeration brief; clean utensils and surfaces after contact with raw meat.
Refrigerate the seasoned mixture. - Prepare to form: Use a clean food-grade jerky gun with a flat-strip nozzle, or a rolling pin with food-safe sheets to shape the mixture. Do not use a construction caulking gun. Make flat strips of uniform thickness, no thicker than 1/4 inch; remove any plastic or wax paper before heating.
Prepare food-grade shaping tools. - Shape: Arrange the formed strips in one layer on oven-safe racks over rimmed baking sheets, leaving space between pieces. Keep the remaining mixture refrigerated while working. This method is for flat strips, not thick round snack sticks or sausage casings.
Form even flat strips on oven-safe racks. - Heat before drying: Preheat the oven to 325°F. Heat the formed strips until a suitable thin-tip food thermometer measures at least 160°F internally in several pieces. Check the centers without touching the rack. The oven setting and meat color do not prove the internal temperature. Use clean utensils to handle the heated strips.
Heat and check the strips with a thermometer. - Dry: Transfer the heated strips to a preheated dehydrator that maintains 140°F, with room for air circulation. Dry until cooled test pieces are dry through the center, without moist or underdone spots. Follow the dehydrator instructions for ground-meat strip drying and texture checks. Time varies with thickness, equipment and loading; neither a fixed number of hours nor a bend test replaces the measured heating step.
Dry the heated strips with room for airflow. - Cool and store: Cool the properly heated and dried strips, pack in clean airtight food containers and label the date. Refrigerate the batch and freeze portions for longer storage. No room-temperature shelf life has been validated for this specific recipe.
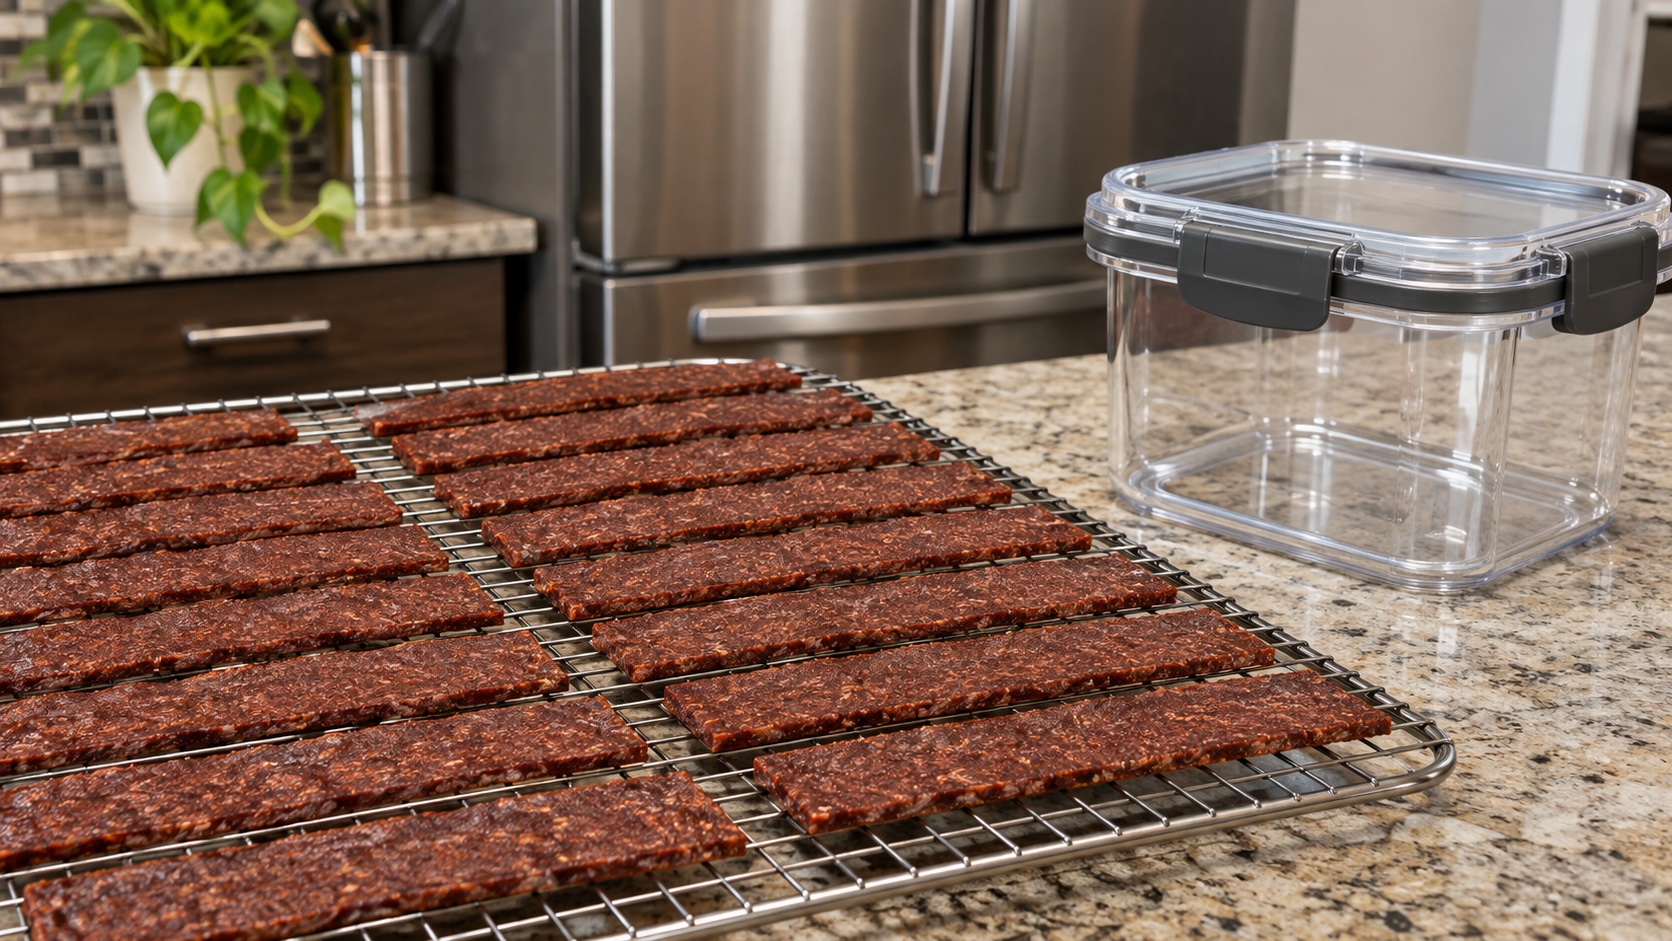
Cool and refrigerate the finished jerky.
Recipe update: Original ingredient quantities are unchanged. The method now separates heating from drying and specifies refrigerated storage. The old four-hour cook time and four-hour-thirty-minute total were not dependable completion targets and omitted the refrigerated rest. The previous calorie estimate has been removed because no finished-batch nutrition calculation was verified.
Start with suitable ground deer meat
Use lean venison with a known handling history. Ask the processor whether pork or beef fat was added; a package labeled ground venison does not necessarily contain only lean deer meat. Avoid adding bacon or extra fat to this formula simply to make it softer.
NDSU Extension's jerky guidance recommends ground meat that is at least 93% lean and specifically discusses heating formed ground-meat strips to 160°F before drying. Keep the meat cold while you assemble equipment, and thaw frozen packages in the refrigerator.
For hunter-harvested venison, follow local wildlife and health guidance. CDC advises strongly considering CWD testing before eating deer or elk and not eating meat from an animal that tests positive. Do not use meat from animals that appeared sick or were found dead. Heating instructions for jerky are not a substitute for these precautions.
Understand the seasoning mixture
| Ingredient group | Role in this recipe | Keep in mind |
|---|---|---|
| Soy and Worcestershire sauces | Savory liquid seasoning | Check labels for sodium and allergens |
| Brown sugar | Sweetness | Does not establish preservation or shelf life |
| Apple cider vinegar | Tart flavor | Does not make raw meat safe to taste |
| Paprika, garlic, onion and pepper | Smoke-style flavor and aromatics | Measure the original formula before changing a future batch |
| Optional cayenne | Heat | Leave out if you prefer a milder result |
Mix the seasoning throughout the cold ground meat rather than leaving pockets of dry spices. The refrigerated rest gives the mixture time to settle before forming. It does not cook the meat.
Never taste the raw venison mixture to decide whether it needs more salt or sugar. Record what you used and assess flavor only after the jerky has been properly heated and dried. Check all sauce labels before claiming a batch is gluten-free or suitable for a particular allergy.
Curing salt is not a seasoning to add to taste
The original recipe card contains no curing salt. Earlier surrounding text suggested substituting pink curing salt for ordinary salt and adjusting it to taste; that advice was incorrect and has been removed.
Do not add an improvised dose of Cure No. 1, substitute it spoon for spoon for table salt, or borrow a dose from an unrelated batch. If you want a cured recipe, use a complete tested process or a commercial ground-meat jerky kit and follow its exact meat-weight, cure and heating directions. Cure mixtures have specific uses and instructions; the name “pink salt” is not enough to identify one.
Salt, smoke flavor and vinegar do not replace the heating step in this recipe. Nor does adding cure automatically make homemade jerky safe to leave unrefrigerated.
Form flat strips with a jerky gun or rolling pin
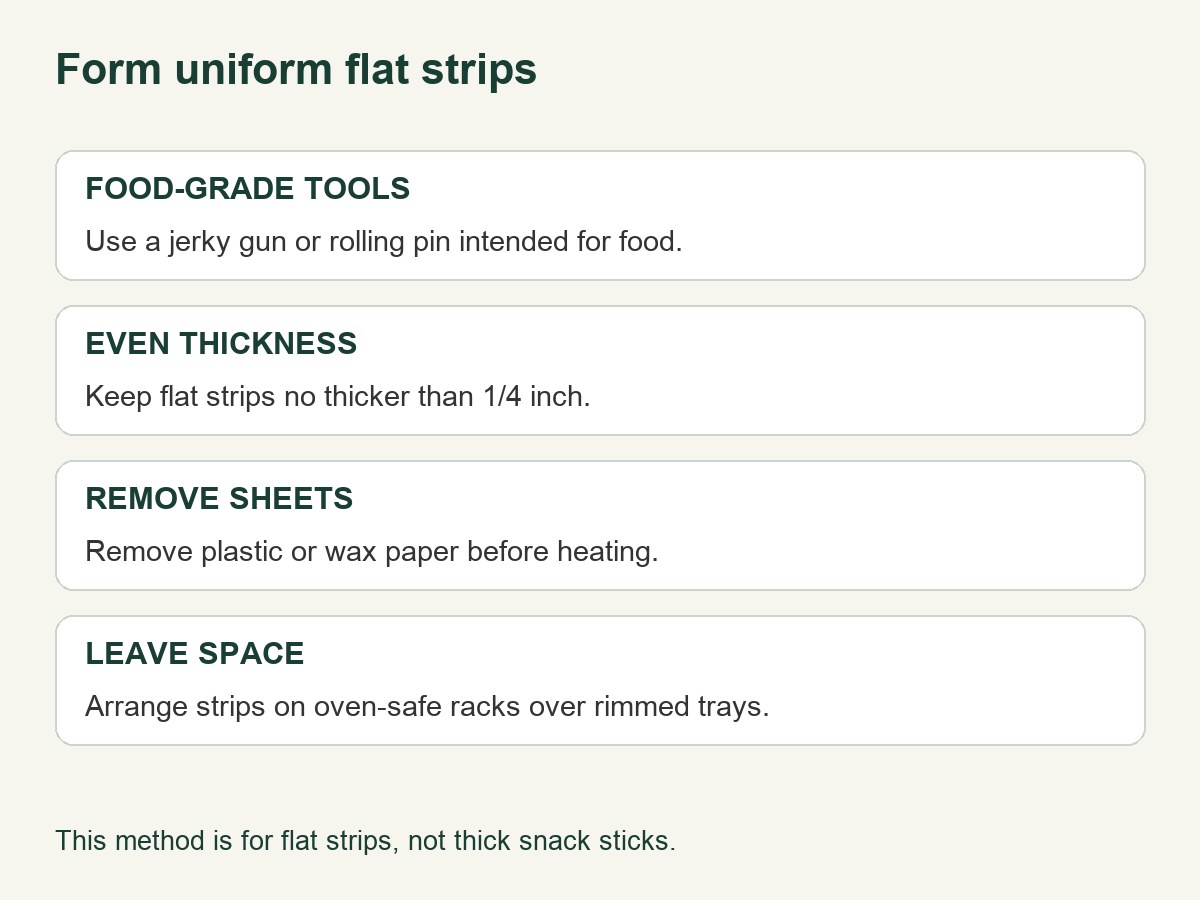
A food-grade jerky gun makes consistent strips convenient, but it is optional. Use a flat nozzle and aim for an even thickness throughout the batch. The gun is a shaping tool, not a way to preserve meat.
Without a gun, roll the mixture between food-safe sheets, remove the sheets and divide it into flat strips. Avoid thick ridges and uneven ends. Do not heat wax paper or plastic wrap, and use oven-safe racks over rimmed trays for the heating stage.
Keep strips no thicker than ¼ inch for this method. Do not change them into thick round sticks or fill sausage casings and expect the same process to apply. Those formats need their own appropriate directions.
Clean the gun's barrel, nozzle, plunger and other food-contact parts according to its instructions. Use separate clean utensils after heating so cooked strips do not touch equipment contaminated by raw venison.
Heat first, then dehydrate
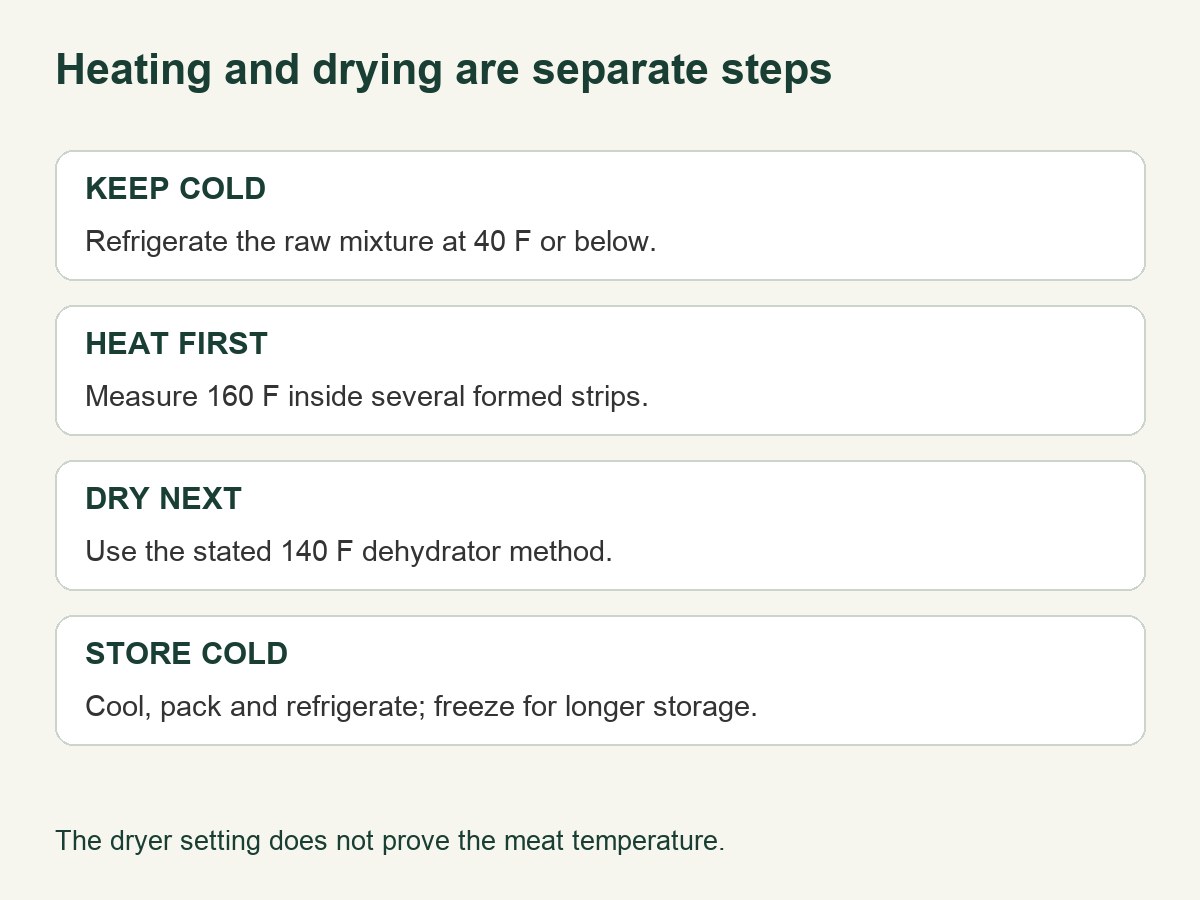
USDA's home-jerky guidance calls for heating meat to 160°F before dehydration. Penn State's oven preheating method uses racks over baking sheets in a 325°F oven, with a thermometer to confirm the meat reaches 160°F. The recipe above applies that measured heating step to formed flat strips.
Use a suitable thin-tip food thermometer and check several pieces. The sensing area needs to be inside the meat, not touching the rack. If your thermometer cannot measure the strips accurately, obtain suitable equipment or follow a complete extension-tested process rather than guessing from color or elapsed time.
After heating, transfer strips with clean utensils to the preheated 140°F dehydrator. Leave gaps for airflow and follow its tray-loading instructions. The lower drying temperature follows the heating step; it is not an alternative way to cook raw ground meat.
Start checking texture as the strips dry, allowing a sample to cool before assessing it. Ground jerky does not have the same long muscle fibers as sliced jerky, so do not rely solely on a dramatic bend-and-crack demonstration. Pieces should be dry through the center, without damp or underdone spots. A texture check cannot verify that the earlier heating step happened.
Drying time and common problems
There is no reliable single finishing time for every dehydrator. Strip thickness, tray loading and equipment affect the result. The old four-to-six-hour instruction was too easy to read as a guarantee; the revised recipe separates measured heating from drying and checking.
| Problem | Check first |
|---|---|
| Uneven drying | Strip thickness, spacing and the manufacturer's tray guidance |
| Mixture difficult to shape | Whether it is cold and evenly mixed; avoid adding unmeasured liquid |
| Pieces breaking apart | Uniform shape, gentle transfer and whether they were excessively dried |
| Greasy surface | Added fat in the grind; blotting does not prove safe processing |
| Damp center | Thickness and drying progress; do not package as finished jerky |
Do not use this method to rescue meat that was held at unsafe temperatures or otherwise mishandled. A later drying step cannot establish that a questionable starting batch was safe.
Cool, refrigerate and freeze
Cool the properly heated and dried jerky before sealing it in clean containers. Label the batch and refrigerate it; freeze portions you want to keep longer. An airtight bag, vacuum sealer or moisture absorber does not validate a room-temperature shelf life.
For lunches or hunting trips, carry this homemade batch cold in an insulated container with an ice pack. If you need a shelf-stable backpack snack, choose a product labeled for that use or follow a validated preservation process suited to your ingredients and equipment.
Do not copy the previous claims of one to two months at room temperature or two to three months in the refrigerator. Those periods were not established for this formulation. Discard jerky with mold or other signs of spoilage; looking and smelling normal also cannot prove that a missed heating step was harmless.
Frequently asked questions
Can I use a smoker instead of a dehydrator?
Do not replace this process with low-temperature smoking alone. Use a complete ground-meat jerky method written for the equipment, including its heating, drying and storage instructions. Smoked paprika supplies flavor here without requiring a smoker.
Can I make it entirely in the oven?
The oven in this recipe is used for the measured heating stage. For oven-only jerky, follow an extension-tested process your oven can maintain. Do not improvise by leaving the door open or using the lowest setting without knowing the actual temperature and required method.
Can I substitute beef or another wild game meat?
Use a complete recipe for the meat you have rather than assuming every substitution shares the same process. Do not use these instructions for ground poultry, thick snack sticks or wild-boar jerky.
How much finished jerky will two pounds make?
The original card lists eight servings, but the finished weight depends on moisture loss and the starting grind. Weigh your cooled batch if you need consistent portion sizes. The former calorie figure was not a verified calculation.
Can I double the batch?
Keep the ingredient proportions consistent, but do not crowd racks or exceed the appliance's loading instructions. Work in manageable batches, keep waiting meat refrigerated, and verify heating and drying for each load.
More jerky recipes
For other flavor profiles, see our jerky seasoning recipe and pork loin jerky recipe. They use different meat preparations and ingredient proportions; follow each recipe's own directions.