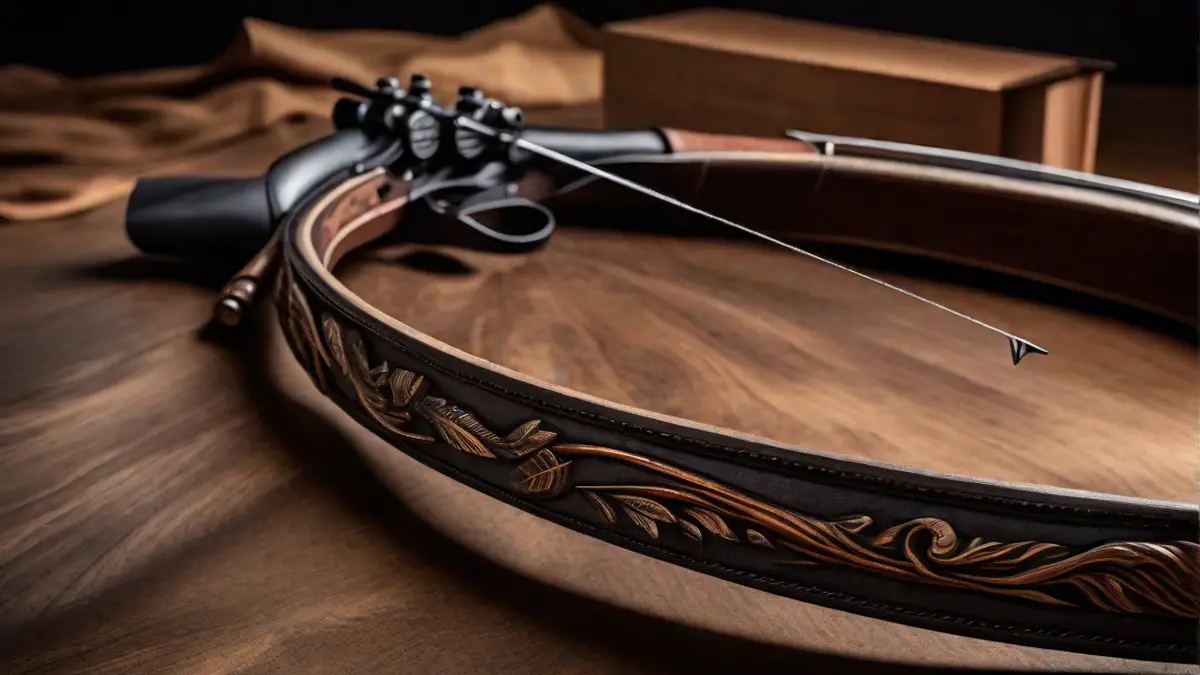
Have you ever wanted to experience the thrill of hunting with your very own handmade bow? There’s something incredibly satisfying about crafting a weapon from scratch and using it to pursue game. In this article, I will guide you through the process of making a hunting bow from scratch, sharing my personal tips and insights along the way.
Gathering the Materials
The first step in making a hunting bow is gathering the necessary materials. Here’s what you’ll need:
- A suitable stave: Look for a sturdy piece of wood that is free from knots and cracks. Yew, hickory, and osage orange are popular choices for bow making.
- Bowstring: Opt for a high-quality bowstring made from strong materials like dacron or Fast Flight.
- Woodworking tools: You’ll need a drawknife, rasp, and sandpaper for shaping and finishing the bow.
- Measuring tools: A ruler or tape measure will come in handy for precise measurements.
- Wood glue: Choose a strong wood glue that will securely bond the various parts of the bow together.
Shaping the Bow
Once you have gathered all the materials, it’s time to start shaping the bow. Begin by measuring and marking the desired length of the bow on the stave. Then, use a drawknife to carefully remove excess wood, gradually shaping the limbs of the bow.
Keep in mind that the thickness of the bow will vary depending on its intended draw weight. Thinner limbs will result in a higher draw weight, while thicker limbs will create a lower draw weight. Find the perfect balance that suits your hunting needs and personal preferences.
After rough shaping the limbs, use a rasp and sandpaper to further refine the design and smooth out any rough spots. This is where your personal touch comes in. Take your time and shape the bow to how it feels comfortable in your hands. Remember, a well-crafted bow is not only functional but also a work of art.
Attaching the Bowstring
Once the bow is shaped to your satisfaction, it’s time to attach the bowstring. Start by stringing the bow with a temporary string to test its performance. Make any necessary adjustments to the limbs’ tiller, ensuring that they bend evenly when the bow is drawn.
When you’re satisfied with the tiller, remove the temporary string and attach the permanent bowstring. Apply a small amount of wax to the bowstring to prevent it from fraying and enhance its durability.
Testing and Adjusting
Now that your hunting bow is complete, it’s crucial to test its performance and make any necessary adjustments. Find a safe area where you can draw and shoot the bow without obstruction.
Start with a light draw weight and gradually increase it as you become more comfortable. Pay attention to the bow’s performance, including its accuracy, speed, and smoothness of the draw. If needed, make small adjustments to the tiller or limb shape to optimize the bow’s performance.
Conclusion
Building a hunting bow from scratch is a rewarding endeavor that allows you to create a personalized tool for your outdoor pursuits. By following these steps and adding your personal touches, you can craft a hunting bow that not only functions flawlessly but also reflects your craftsmanship and dedication.
