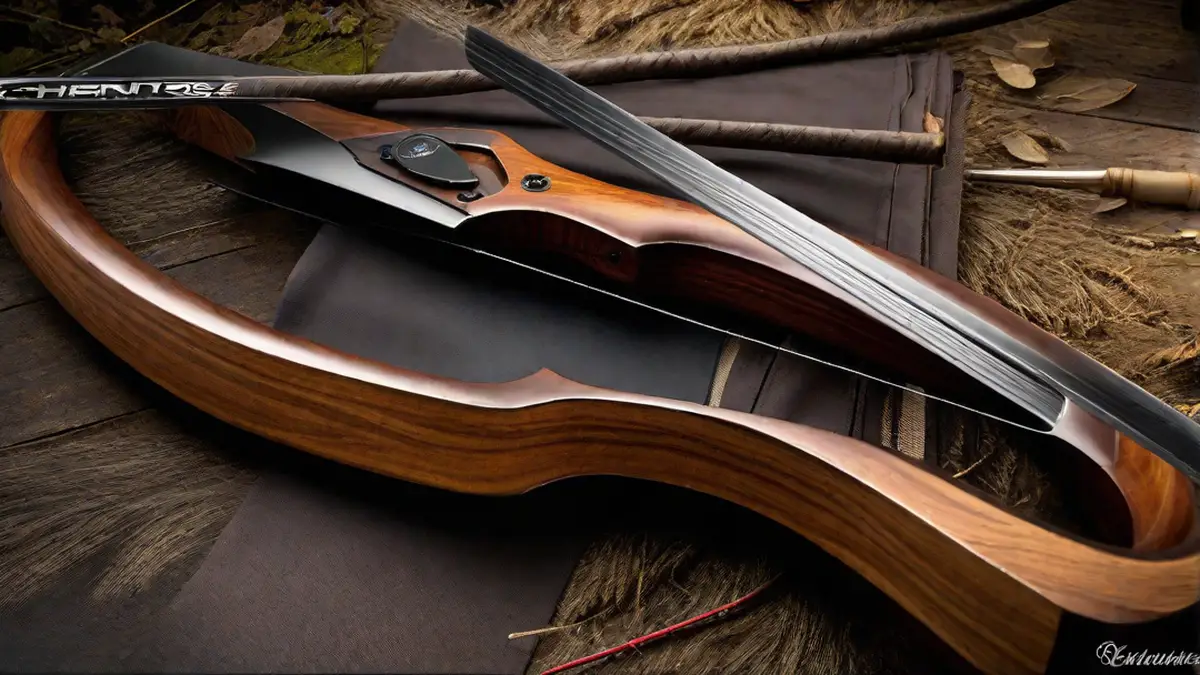
When it comes to hunting, using a recurve bow adds an element of challenge and excitement. There’s something special about crafting your own hunting tool that connects you to the ancient art of archery. In this article, I’ll share with you my personal experience and step-by-step guide on how to make your own hunting recurve bow.
Gather the Materials
The first step in making a hunting recurve bow is gathering all the necessary materials. Here’s what you’ll need:
- A solid piece of wood, preferably hickory, yew, or osage orange
- A drawknife and a spoke shave for shaping the wood
- Wood rasp and sandpaper for fine-tuning
- A bowstring made of Dacron or Fast Flight material
- Bowstring serving thread and bowstring wax
- A ruler or measuring tape
- A workbench or sturdy table
- Sandpaper or sanding block
Design Your Bow
Once you have all the materials ready, it’s time to design your bow. Start by deciding on the draw weight and length that suits your hunting style. As a general rule, a draw weight of 40-60 pounds is ideal for hunting large game.
Next, mark the dimensions on the wood using a ruler or measuring tape. The overall length of the bow should be around 66-70 inches, with the handle section measuring 6-7 inches and the limbs gradually tapering towards the tips.
Shape the Bow
Now comes the fun part – shaping the bow. Begin by using a drawknife to remove excess wood and create the rough shape of the bow limbs. Use long, smooth strokes to maintain an even curvature on both sides. Take your time and check the balance and symmetry of the limbs as you go.
Once you have the basic shape, switch to a spoke shave and wood rasp for finer shaping. Smooth out any rough areas and gradually bring the limbs to their desired thickness. Pay attention to the handle section, ensuring it feels comfortable and provides a secure grip.
Tiller the Bow
Tillering is the process of adjusting the bow’s limbs to achieve an even bend. Attach the bowstring to the tips of the limbs, making sure it sits comfortably in the string notches. Hang the bowstring over a sturdy object, such as a hook, and slowly apply pressure to the handle section.
Observe the limb bend and make any necessary adjustments. The ideal tiller should have a slight reflex in the upper limb, ensuring a powerful shot. Check the tiller from different angles and adjust as needed, maintaining balance and symmetry on both limbs.
Add the Finishing Touches
Once you’re satisfied with the bow’s shape and tiller, it’s time to add the finishing touches. Using sandpaper or a sanding block, smooth out any imperfections and give the bow a polished look. Be careful not to remove too much material, as it can weaken the bow.
Apply a coat of varnish or bow finish to protect the wood from moisture and enhance its durability. Allow the finish to dry completely before proceeding to the final step.
String and Test Your Bow
Stringing your bow is the last step before it’s ready to be tested. Use bowstring serving thread to create loops at both ends of the bowstring. Wax the string to reduce friction and improve its lifespan.
Carefully attach the bowstring to the limb tips, making sure it sits snugly in the string notches. Gently flex the bow a few times to settle the string and ensure proper alignment.
Now it’s time to take your bow for a test run. Head to a safe and open area, preferably an archery range or a remote outdoor location. Start with shorter draw lengths and gradually increase as you get comfortable with the bow.
Conclusion
Making your own hunting recurve bow is a rewarding and fulfilling experience that connects you to the age-old tradition of archery. By following the steps outlined in this article, you can create a bow customized to your hunting style and preferences. Remember to always prioritize safety and practice proper shooting techniques. Happy hunting!
