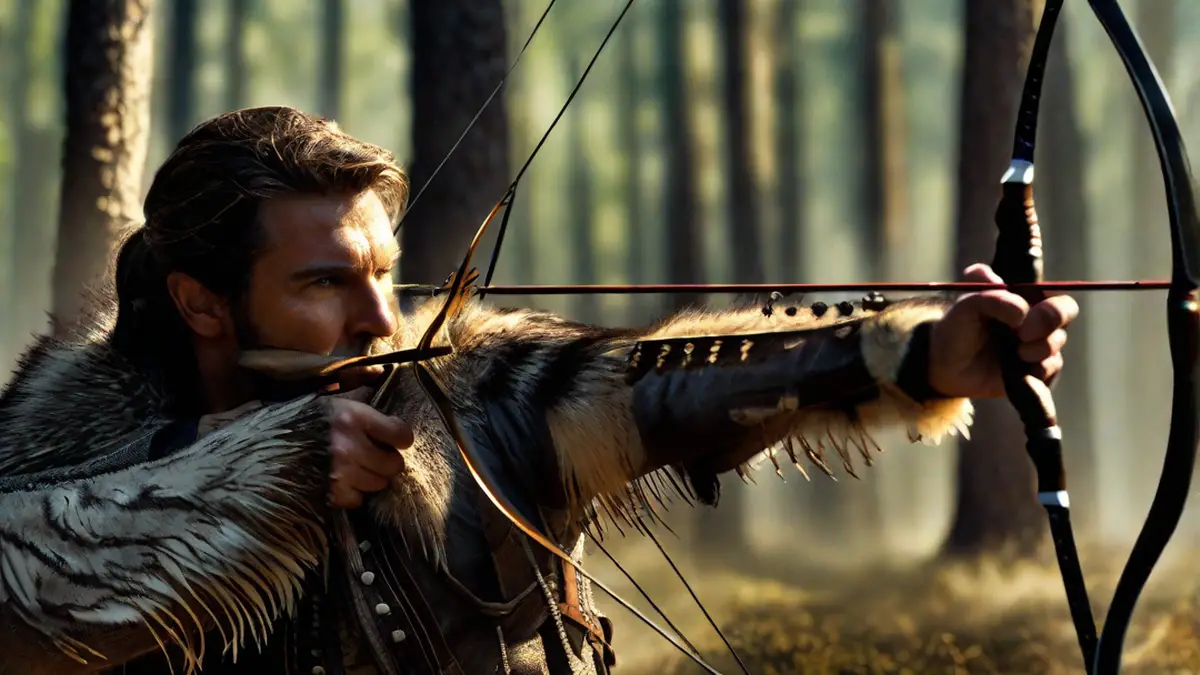
Today, I want to take you on a journey into the world of archery and hunting. There is something truly special about crafting your own hunting bow. Not only does it allow you to connect with nature on a deeper level, but it also gives you a sense of pride and accomplishment knowing that you made your own tool for pursuing game. In this article, I will guide you through the step-by-step process of making your very own hunting bow. So, let’s dive in!
Gathering Materials
The first step in crafting your hunting bow is gathering the necessary materials. Here’s what you’ll need:
- A length of strong and flexible wood.
- A saw or sharp knife for cutting the wood to size.
Shaping the Bow
Once you have gathered all the necessary materials, it’s time to start shaping your bow. Follow these steps:
- Start by measuring and marking the desired length of your bow on the wooden stave. A good length for a hunting bow is usually around 5-6 feet.
- Using a saw or sharp knife, carefully cut the wooden stave to the desired length.
- Next, use a file to shape the bow. Begin by creating a slight curve in the middle of the stave, known as the handle. This is where you will hold the bow.
- Gradually taper the ends of the stave to create the limbs of the bow. The limbs should be thinner and more flexible than the handle.
- Take your time and constantly check the shape of the bow as you file, ensuring that the limbs are relatively symmetrical.
Heat-Treating the Bow
Now that you’ve shaped the bow, it’s time to strengthen it through heat-treating. This process makes the wood more durable and less prone to breaking under tension. Follow these steps:
- Find a heat source, such as a stove or campfire, and hold the bow over the heat. Be careful not to let it catch fire or become too hot.
- Slowly rotate the bow, allowing the heat to evenly distribute across the wood. This process helps remove any moisture and makes the wood more pliable.
- Continue heat-treating the bow for several minutes until the wood becomes slightly darker in color and feels dry to the touch.
Adding the Bowstring
With the bow shaped and heat-treated, it’s time to attach the bowstring. Follow these steps:
- Measure and cut a length of cord or string slightly longer than your bow.
- Attach one end of the string to the top limb of the bow by tying a secure knot. Make sure the knot is tight and won’t slip off.
- Now, gently bend the bow and loop the other end of the string around the bottom limb. Pull it tight and secure it with another knot.
- Adjust the tension of the bowstring by twisting it slightly clockwise or counterclockwise. This will help fine-tune the performance of your bow.
Conclusion
And there you have it, your very own handmade hunting bow! Crafting your own bow allows you to personalize it to your preferences and create a connection with the natural world. Remember to always practice proper archery techniques and safety precautions before taking your bow out into the field. Happy hunting!
