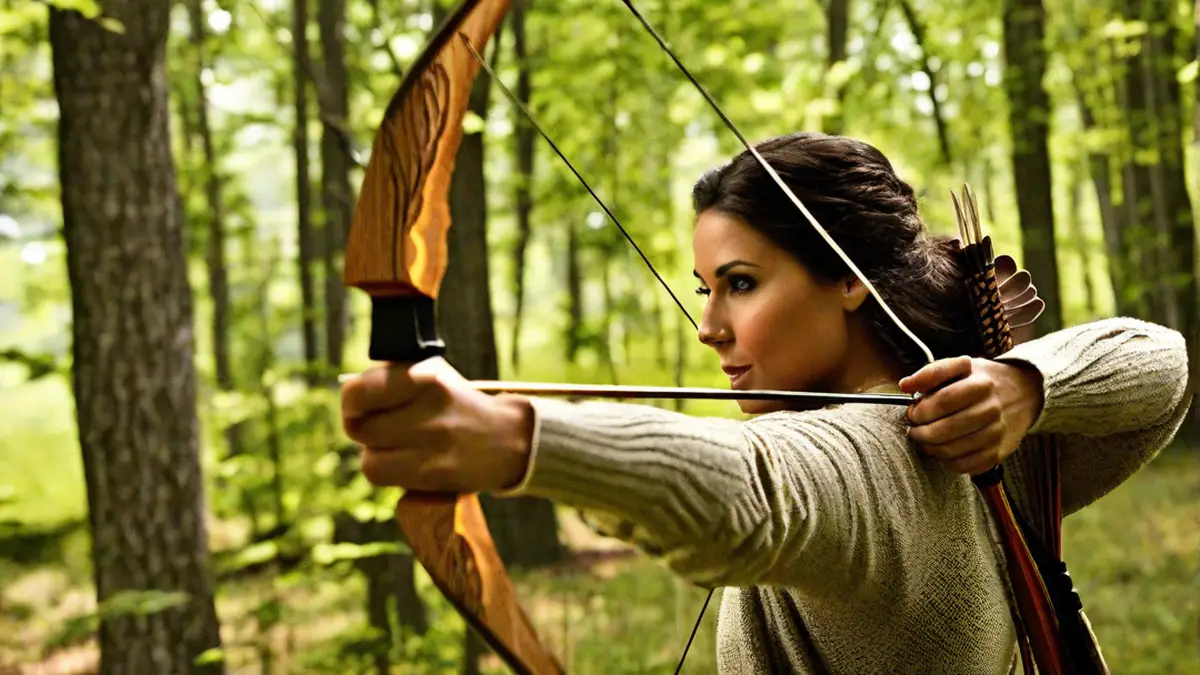
As an avid outdoorsman, one of my favorite activities is bow hunting. There’s something primal and satisfying about using a homemade bow and arrow to hunt for your own food. Not only does it require skill and precision, but it also connects you to our ancient ancestors who relied on this method for survival. In this article, I’m going to share with you my step-by-step guide on how to make your own bow and arrow for hunting.
Gather the Materials
The first step in making your own bow and arrow is gathering the necessary materials. You’ll need the following:
- A sturdy, flexible piece of wood for the bow, about 5-6 feet in length
- A sharp knife or hatchet for carving the bow
- String or cordage for the bowstring
- Straight, thin wooden dowels for the arrows
- Feathers for fletching the arrows
- Small sharp knife for carving arrows
- Arrowhead points
Carving the Bow
Once you have gathered all the materials, it’s time to carve your bow. Find a sturdy piece of wood that is about as tall as you are. Look for a branch or sapling that is straight and flexible. Using your knife or hatchet, carefully remove any excess branches or knots from the wood. Leave the bark intact, as it adds strength to the bow.
Next, carve the shape of the bow. Start by shaping the handle, making sure it fits comfortably in your hand. Then, gradually taper the wood towards the ends, creating the limbs of the bow. Take your time and make small, controlled cuts, checking the flexibility of the bow as you go. The limbs should bend slightly when the bow is drawn, but not too much.
Once you are satisfied with the shape, smooth out any rough edges with sandpaper or a file. This will prevent splinters and make the bow more comfortable to hold.
Stringing the Bow
With the bow carved, it’s time to string it. Take your string or cordage and tie a loop on one end. Slide the loop over one limb of the bow, making sure it sits in the groove you created while carving. Then, bend the bow and slide the other end of the string into the groove on the opposite limb. The string should be taut, but not overly tight. Adjust the string as needed until it feels balanced.
Making the Arrows
Now that you have your bow, it’s time to make some arrows. Take your wooden dowels and carve a point on one end using your small sharp knife. This will be the front of the arrow. Next, carve a small groove at the other end to hold the bowstring.
To fletch the arrows, take your feathers and trim them to the same length. Apply a thin layer of glue along one side of the feather and press it onto the back end of the arrow. Repeat this process with two more feathers, spacing them evenly around the arrow.
Lastly, attach arrowhead points to the front of the arrows using glue or by binding them with cordage. Make sure they are securely fastened and aligned with the arrow shaft.
Conclusion
And there you have it – your very own homemade bow and arrow for hunting. Crafting your own weapon not only allows you to customize it to fit your needs but also gives you a deeper appreciation for the ancient art of hunting. Remember to always practice safety and follow local hunting regulations when using your bow and arrow in the field. Happy hunting!
