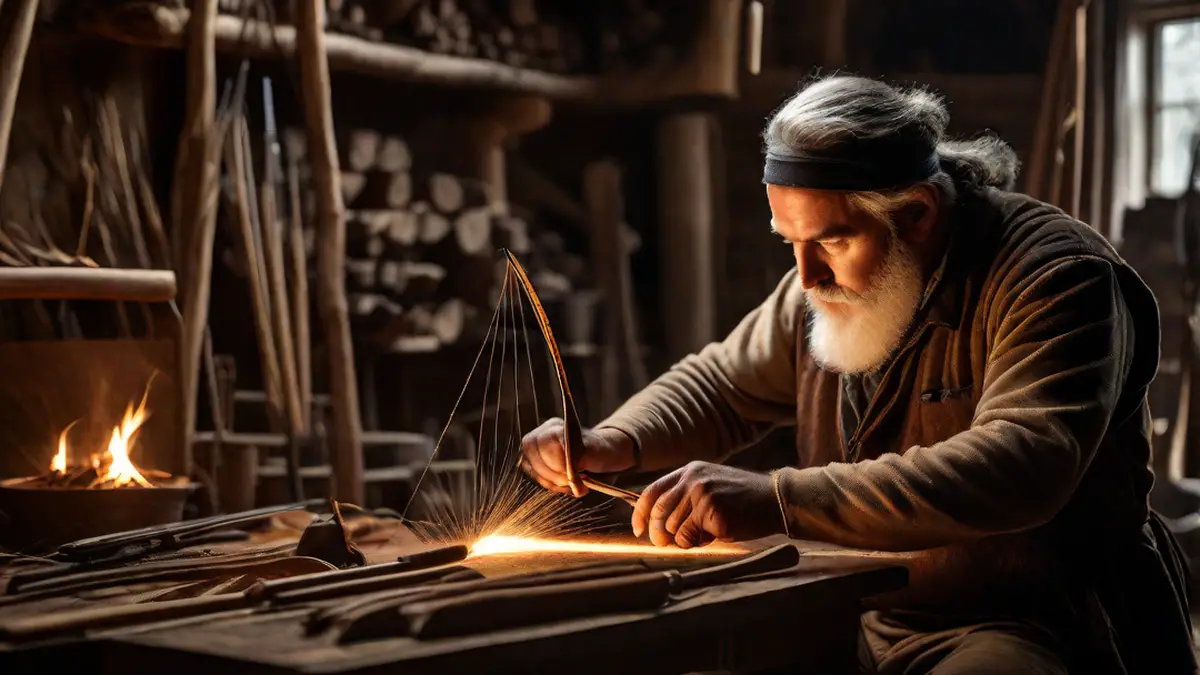
Have you ever wanted to experience the thrill of hunting with a bow? There’s something incredibly primal and satisfying about drawing back an arrow and releasing it with precision, knowing that your skill and technique are what determine your success. But buying a hunting bow can be expensive, and if you’re a DIY enthusiast like me, you might be wondering if there’s a way to make your own hunting bow at home. Well, I’m here to tell you that it’s not only possible, but also a rewarding and fulfilling project that will enhance your hunting experience.
Before we dive into the details of making a hunting bow at home, let’s talk about the different types of bows. There are three main types: recurve bows, longbows, and compound bows. Recurve bows are the most traditional and are known for their elegant curves. Longbows are simpler in design and have a straight limb. Compound bows, on the other hand, are more modern and use a system of pulleys and cables to increase arrow speed.
For this article, we’ll focus on making a simple recurve bow at home. Here’s what you’ll need:
- A wooden board (choose a hardwood like oak or hickory)
- A saw for cutting the board to size
- Sandpaper for smoothing the edges
- A rasp for shaping the bow
- A file for notching the bowstring
- Paracord or Dacron for the bowstring
- Epoxy or wood glue for reinforcing the handle
- A tillering tree or a strong and tall object to hang the bow on
Now that you have all your materials, it’s time to get started. First, cut your wooden board to the desired length. Depending on your strength and personal preference, a length between 60-70 inches is a good starting point. Next, use sandpaper to smooth the edges of the board and remove any rough spots.
Once you have a smooth board, it’s time to shape the bow. Start by forming the handle, which is the part you grip when shooting. Use a rasp to carefully shape the handle to fit comfortably in your hand. Be sure to create a slight curve on each end of the bow, as this will give it the recurve shape.
After shaping the bow, it’s time to add notches for the bowstring. Using a file, create small grooves on the tips of the bow. These notches will hold the bowstring in place and allow for easy attachment and detachment of the string.
Now comes the crucial step of tillering the bow. Tillering is the process of evenly distributing the pressure along the length of the bow to ensure it bends correctly when drawn. Hang your bow on a tillering tree or a sturdy object and slowly apply pressure to the bowstring while observing how the bow bends. If there are any uneven spots or areas of excessive bending, use a rasp or sandpaper to adjust the limb until the bow bends evenly.
Once you’re satisfied with the tillering, it’s time to reinforce the handle. Apply epoxy or wood glue to the handle area to strengthen it and prevent any potential cracks or breaks. Let the glue dry completely before moving on to the final step.
Finally, it’s time to string your bow. Measure and cut your paracord or Dacron to the appropriate length and attach it to the notched ends of the bow. Make sure the string is taut but not overly tight.
And there you have it! Your very own homemade hunting bow. Remember, practice makes perfect, so take the time to familiarize yourself with your new bow before heading out on your next hunting adventure.
Conclusion
Making a hunting bow at home is an incredibly rewarding endeavor that allows you to not only save money but also personalize your hunting gear to fit your style and preferences. While it requires patience and attention to detail, the sense of accomplishment you’ll feel when you take your homemade bow out in the field is truly unparalleled. So why not give it a try? Happy hunting!
