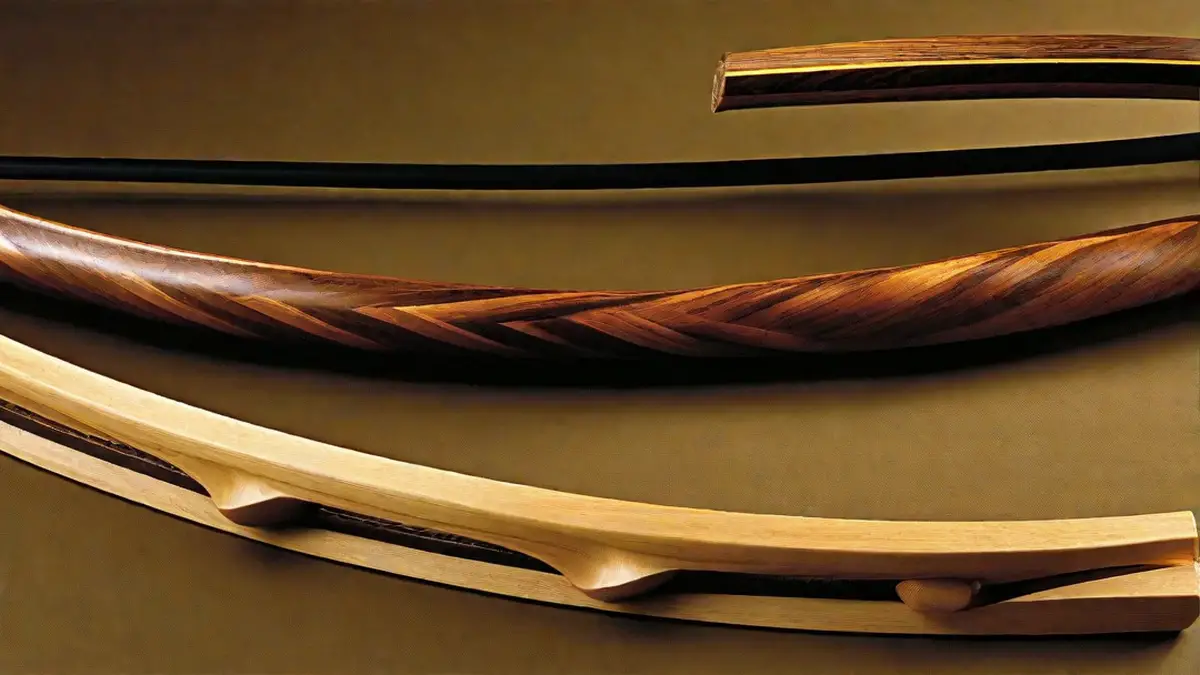
Today, I want to share with you a step-by-step guide on how to make your own bow for hunting. As an avid outdoorsman, I find great joy in crafting my own hunting equipment. Making your own bow not only saves you money but also gives you a deep sense of satisfaction when you take it out into the field.
Gather the Materials
The first step in making your own bow is to gather all the necessary materials. For this project, you will need:
- A length of wood – I prefer using ash or hickory for its flexibility and strength.
- A bowstring – You can purchase a pre-made bowstring or make your own using strong synthetic material.
- A saw – You will need a saw to cut the wood to the desired length.
- A rasp – A rasp will be used to shape the wood and smooth out any rough edges.
- Sandpaper – Sandpaper will help you achieve a smooth finish on your bow.
- A file – A file will be used to notch the ends of the bow for the bowstring.
Cut the Wood
Once you have gathered all the necessary materials, it’s time to cut the wood to the desired length. The length of your bow will depend on your personal preference and strength. As a general rule of thumb, a longer bow will provide more power, while a shorter bow will be easier to maneuver in tight spaces.
Using a saw, carefully cut the wood to the desired length. Make sure to measure twice and cut once to ensure accuracy. Once you have your desired length, use the rasp to shape the wood into a smooth and ergonomic shape. Pay close attention to the handle area, as this is where you will be gripping the bow.
Add the Bowstring
Now that your bow is taking shape, it’s time to add the bowstring. Begin by notching the ends of the bow with a file. These notches will hold the bowstring in place. Make sure the notches are deep enough to securely hold the bowstring, but not too deep to weaken the bow.
Once you have notched the ends of the bow, attach the bowstring. You can either purchase a pre-made bowstring or make your own using strong synthetic material. I personally prefer making my own bowstrings, as it allows me to customize the length and material to my liking.
Finishing Touches
With the bowstring securely attached, it’s time to add the finishing touches to your handmade bow. Use sandpaper to smooth out any rough edges and achieve a polished finish. Take your time during this process, as a smooth and well-finished bow will perform better in the field.
Once you are satisfied with the finish, give your bow a test run. Draw the bowstring back and release it to ensure it functions properly. Make any necessary adjustments to the bowstring tension or the shape of the bow if needed.
Conclusion
Making your own bow for hunting is a rewarding and fulfilling experience. Not only do you save money, but you also gain a deeper understanding and appreciation for the craft of archery. Remember to practice proper safety measures and always follow local hunting regulations when using your handmade bow in the field. Happy hunting!
